RESEARCH & INSPIRATION
The first – most important and fun part – is to do research and get yourself inspired for your upcoming project. Gallery walls will give your room character and show your personality because each gallery wall is a unique collection of little bits and pieces that has meaning to you. Remember, you are the curator of your gallery wall, and you can let your imagination run free! There are no strict rules, but consider a few points to make the process easier.

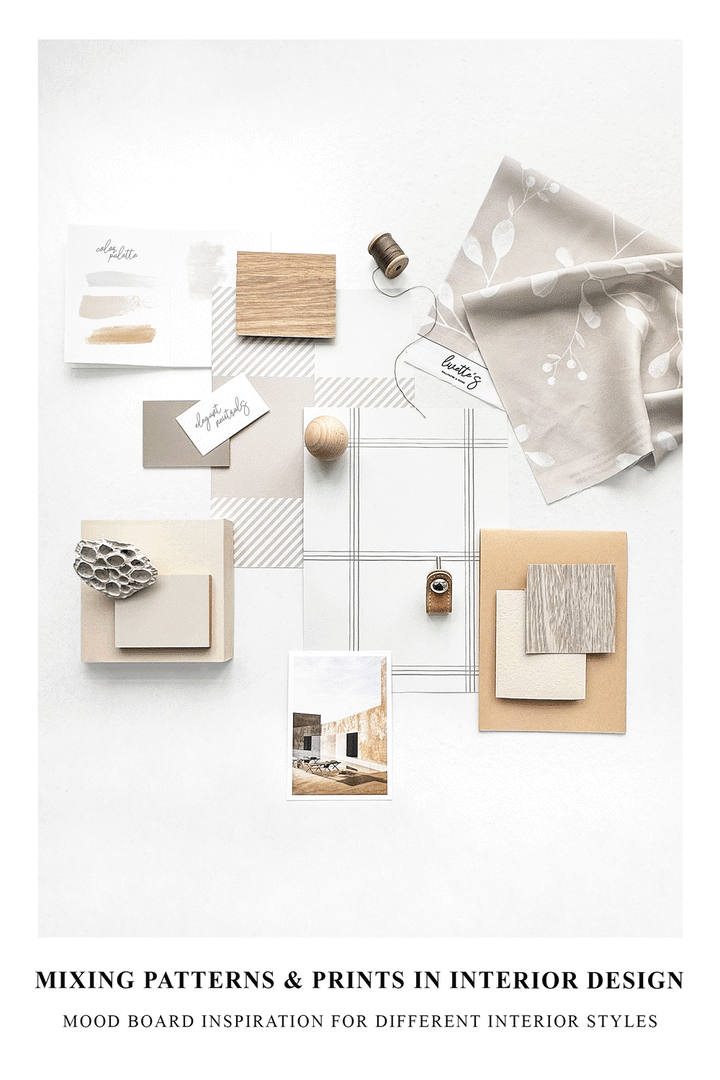
- Gather inspiration and look up images on the internet, in magazines, or in books to understand what you like; create a mood board (Pinterest, Instagram)
- Think of a color palette you would like – will it be neutrals, bright colors, black and white, or maybe a mix?
- If you want to make your wall look more professional, stick to a cohesive color palette, where your art pieces are in the same tone and intensity
- If you don't know where to start, choose a theme according to your interior design (coastal, boho, minimal, mid-century modern, etc.) – it will blend in naturally with the room
- Gather art – posters, photographs, magazine cutouts, even wallpaper left over from your interior project – all of that can help you make a unique gallery wall.
- Try to arrange the pieces you gathered on the floor to see how they look together, to decide on the overall mood and pieces you want to display
- Remember that mirrors, wall hangings, lighting, little shelves, or even plants can also be a part of a gallery wall to make it even more dynamic and three-dimensional.
-
Don't be afraid to mix frame colors & styles ( you can start with two or three colors to avoid chaos)
THE LAYOUT
When it comes to gallery wall layouts seems like there are endless ways to arrange your wall art – from even grid to organized & playful chaos. It's up to your preference, but we've put together nine layout schemes to guide you through a few of the possibilities!1. MINIMALISM


2. THE GRID


3. DYNAMIC
With this layout scheme – if we can even call it a scheme – you can go bold and brave! This layout is the most dynamic and playful of them all, and there are almost no rules – mix & match frames, horizontal & vertical positioning, and play with space between the frames. We said no rules, but still – a few tips can bring this eclectic wall from beautiful to breathtaking!


MEASURE UP!
Final and one of the most important tips – before you start to make holes in your wall, test out your layout! There are two easy ways to do it – on a floor or a wall.
ON A FLOOR:
1. measure the amount of space you want your gallery wall to be;
2. tape off a box that exact size on your floor;
3. lay out the pieces you have chosen for your gallery wall within the taped area.

Now you can play around with the placement for as long as you feel satisfied with the result. It is also a great way to see if your art will look good together or do you need to make adjustments.
ON A WALL:
1. take a paper and cut out squares and rectangles that are the exact size of the artworks you collected for your gallery wall;
2. with painters tape, stick them to your chosen gallery wall.

Now you can see how much space artworks you chose will take up on your wall and make corrections to the layout or amount of artwork you want to display.
One last tip – take pictures with your phone of the layout testing process to remember all the variations you tried and liked. This way, it will be easier to recreate them on your wall when you hang your wall art.We hope this blog post and tips will inspire you to make your gallery wall – we would love to see the result! And if you still need a little more inspiration, check out our art prints collections – maybe one of them is just the missing piece for your gallery wall project!