← Older Post Back to Interior Design Newer Post →

How To Get Bubbles Out Of Wallpaper

tips and tricks to fix wallpaper bubbles

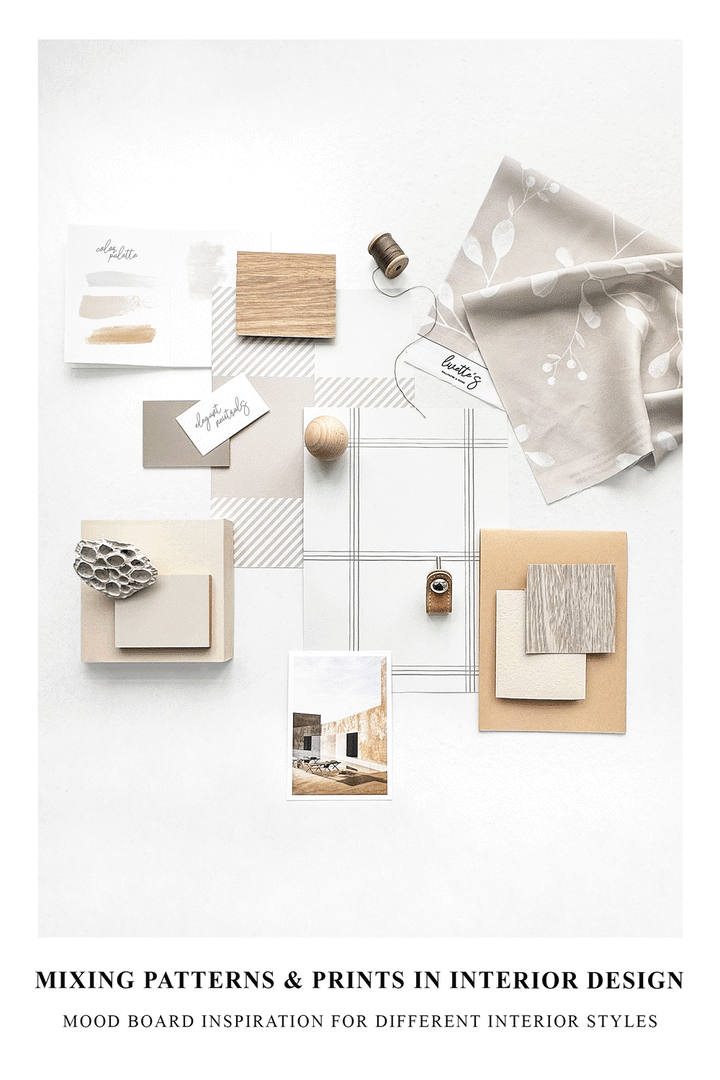
A well done wallpaper job can make any room look beautiful, and can sometimes feel like a real labor of love! So it’s crushing then, when you take a closer look and see loose spots and bubbles. If the traditional style wallpaper is newly applied, the glue may still be moist and you should still be able to peel it off the wall and smooth out the bubbles before reapplying. Meanwhile, if you have peel and stick wallpaper you may be able to move the panel and get rid of the bubble. However, if the wallpaper has been up for quite some time then that will require a bit more work. In our article we’ll take a look at what causes bubbles in wallpaper, how to remove them, and how to prevent them. However, as bubbling in our peel and stick wallpaper is not a common thing, this time we will focus more on situations where  traditional style wallpaper can bubble and how to fix that.

What Causes Bubbles In Traditional Wallpaper?

Bubbling in wallpaper happens to both professional installers and DIYers, and it happens for a couple of reasons. One reason might be that the bubble is still wet, and this usually happens when excessive paste is applied. The opposite is also true. If the bubble is dry, then insufficient paste was applied. Another reason might be that the wallpaper paste was smoothed out incorrectly. Another cause of bubbles in wallpaper may be that drywall patching material that wasn’t primed loosened, and bubbles formed when the glue was drying. Bubbles can also occur if the wall was insufficiently prepared before installation or the wrong primer was used.
wallpaper bubbles
Bubbles may also be caused by paint, loose dirt, or other debris.
As the adhesive dries it will pull the wallpaper tight to the wall and cause the bubbles to dissipate. Sometimes it’s best to just be patient and give the bubbles a day or two to settle before you do anything. However, if the bubbles are still there you can remove them easily and quickly. 

What Causes Bubbles In Peel and Stick Wallpaper?

Considering our peel and stick wallpaper is of a high quality made out of textile material that breathes once applied to the wall, the situation where bubbles can form is highly unlikely, especially if our step by step installation instructions are being followed. That being said, peel and stick wallpaper in general can get bubbly, especially if you choose to use vinyl type self adhesive wallpapers, which do not breathe thus trapping every bit of air underneath the wallpaper during installation and in general can be the hardest wallpaper to install perfectly and almost impossible to do so without bubbles. Bubbles may also be caused by paint, loose dirt, or other debris. However, as we mentioned before, if the wall is prepped correctly before and even better - if a proper primer has been used - there should be no reason to worry about bubbling.

5 Steps To Fix Traditional Wallpaper Bubbles

First, you’ll need some tools to remove your wallpaper bubbles:
  • Sharp snap-blade knife
  • Wallpaper pasting syringe
  • Wallpaper smoothing tool
  • Wallpaper paste
  • Damp sponge

tools to fix traditional wallpaper bubbles

1. Find The Bubble
Before you start, find the bubbles you want to get rid of. Carefully feel the wall to see if the bubble is dry or wet. 
2. Make An Opening In The Bubble With The Knife
Being very careful, make an ‘x’ shaped incision over the bubble. Make sure to use a brand-new blade so you don’t rip the wallpaper. Follow the pattern of the wallpaper when making the incision so the repair isn’t noticeable, making sure the incision you’ve made sufficiently opens the bubble. Once the bubble has opened, look for paint chips or particles of dust that may be responsible for the bubble, then press all the air out. If excess paste was the issue, squeeze out this excess and smooth over the paper.
3. Apply The Wallpaper Paste With The Glue Syringe
You may not own a glue syringe but we highly recommend getting one as it makes applying wallpaper adhesive easy and clean. Be careful to place the glue syringe in the opening and apply the wallpaper paste, covering the whole area. It should be wet, rather than soaked. Make sure not to push the syringe past the opening as you might rip the wallpaper. 
4. Use A Smoothing Tool To Attach The Repaired Area
Gently run the smoothing tool all over the patched area while pressing out leftover paste. The flaps of the cut should lie flat and blend in with the wallpaper pattern. 
5. Clean Any Leftover Adhesive
With a slightly damp sponge, wipe up the excess wallpaper adhesive when smoothing over the repair. Make sure that the repair is still complete after you’ve done this.

How Do You Prevent Bubbles And Blisters In Wallpapers?

traditional wallpaper closet
There is no need to panic if you see bubbles or blisters in your wallpaper. As we have seen, they can be caused by a number of factors, such as too much wallpaper paste or air bubbles beneath the paper. But can you prevent these bubbles from occurring in the first place? We can’t say with certainty, but following the below tips is a good place to start.
  • Using incorrect paste or the incorrect mixing ratio of water and powder can weaken the adhesive and result in bubbles. Make sure to always evenly apply wallpaper paste on paper-based wallpaper, or on the wall if you’re working with non-woven wallpaper. Try not to apply the paste too thick or too thin, as both will weaken the adhesive. 

  • How the wallpaper dries can play a big part in bubbling. If your room is drafty, too hot, too cold, or too humid, this can lead to bubbles. The ideal temperature for a room with drying wallpaper is 50 to 60 degrees Fahrenheit. If you don’t have a hygrometer, you can tell if a room is very humid if it is damp and cool. However, keeping the windows and doors open can also be harmful. Instead, open the windows for about 10 minutes at regular intervals to let the humid air out.

  • Individual, bigger bubbles can be removed by moving them to the side with a cloth that is clean, dry, and soft, or they can even be moved with your hands as long as they are clean. Too much paste can spill out of the edges of the wallpaper but can also be removed with a clean, slightly damp cloth. 
  • If you’re dealing with smaller air bubbles, you can smooth them out with a wallpaper brush. A wallpapering or seam roller is a great tool for removing bubbles, but it needs to be covered in a soft, foamy material. If you have a plastic roller, make sure to wrap it in some white paper to avoid damaging the wallpaper. 
Remember, no matter how tough a bubble is to remove, don’t use brute force as this can damage the wallpaper material and design.  

Final Thoughts

Seeing bubbles in your wallpaper can be disheartening, but we hope that our guide has shown you that they’re easy to prevent, and just as easy to remove. Some bubbles disappear on their own, but if not, use our tips to get rid of them!
Wallpaper used for the project: Light Green Botanical Foliage Wallpaper
Follow

← Older Post Back to Interior Design Newer Post →


Leave a comment